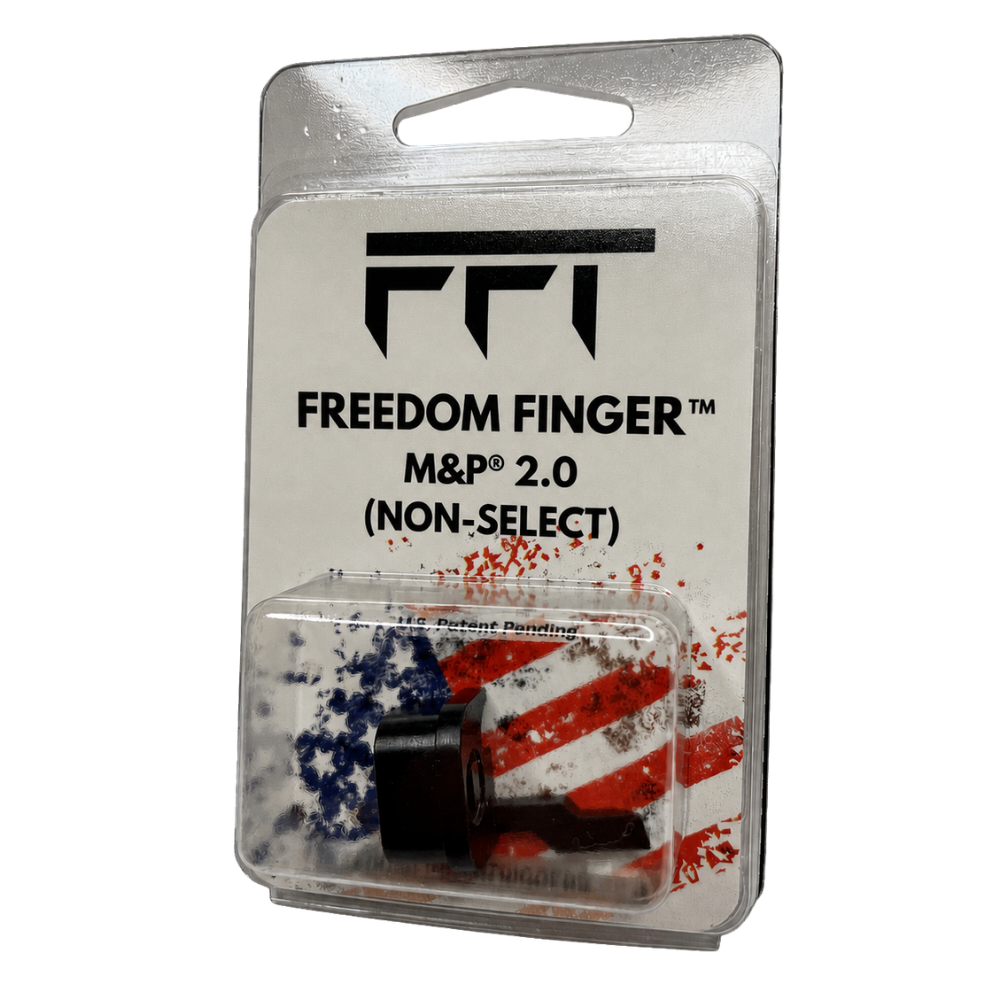
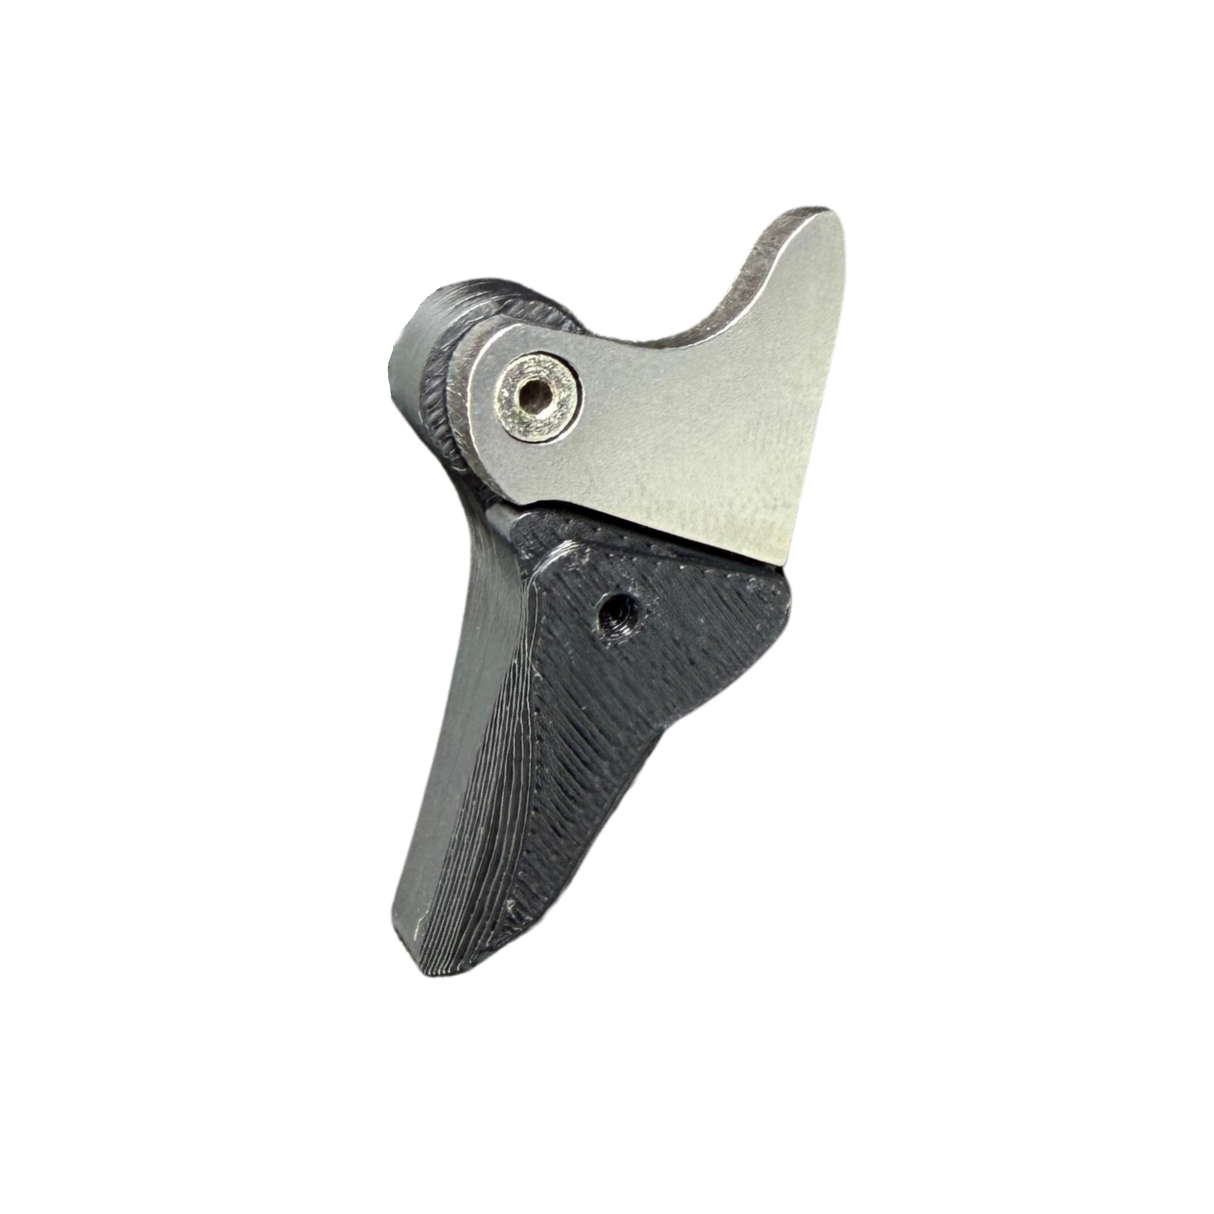
M&P 2.0 FRT Installation Guide: Freedom Finger Forced Reset Trigger
Installation guide for the Freedom Finger™ M&P 2.0 forced reset trigger. The FRT is a drop-in device for the Smith & Wesson M&P 2.0 family. It is not for the M&P 1.0, Shield, SD or Bodyguard. Check the Select vs Non-Select page if you are unsure which pistol you have.
Safety and what changes
Unload the pistol: magazine out, slide locked back, chamber checked by eye and finger. Note that this trigger renders the striker safety plunger non-functional. The pistol keeps its trigger-safety blade but you should handle it as a pistol without a drop safety. Do not carry it with a round chambered unless you accept that.
Tools
- Small flat screwdriver or punch (to depress the striker sleeve while sliding the backplate off)
- Fine file or 400 to 1000 grit paper for rounding the trigger bar edge
- Safety glasses, a soft cloth or bench block
- Recommended: Wolff 4 lb striker spring. Optional: a 22 to 24 lb recoil spring for .45 and 10mm pistols
Step 1: Field strip and remove the slide backplate
Field strip the pistol and set the frame aside. On the slide, press the striker sleeve in with the screwdriver or punch and slide the factory backplate (slide cap) down and off. Keep a thumb over the striker assembly; it is under spring tension. Lift the striker assembly out. If your pistol has an Apex Forward Set Sear Actuator, stop here and reinstall the factory actuator first; the FRT does not work with the Apex part.
Step 2: Round the trigger bar edge
The FRT rides the trigger bar as the slide cycles. The printed instructions show which edge of the trigger bar to round slightly. A few strokes with a fine file or paper is all it takes; you are breaking a sharp corner, not reshaping the bar. The harder steel version can run without this step, but it is still recommended for best operation.
Step 3: Fit the striker spring, then the FRT
If you are using the 4 lb striker spring, swap it now while the striker assembly is out. Reinstall the striker assembly. The Freedom Finger FRT then goes on in place of the factory backplate: press the striker sleeve in and slide the FRT up into the backplate slot until it clicks home flush. Removal is the reverse, which is why it takes minutes to go back to stock.
Step 4: Recoil spring
Leave the recoil spring at factory weight for the first range trip. A clean, oiled pistol should run stock. Change to a slightly heavier spring only if you get failures to reset; .45 and 10mm pistols will most likely want 22 to 24 lb.
Step 5: Function test (unloaded)
Reassemble. Rack the slide, pull the trigger and hold it. Rack the slide again: the FRT should push the trigger forward against your finger, then release as the slide closes. Release, pull, click. Ten repetitions with no hang-ups before any ammunition goes in.
Step 6: Range test
One round, then five, then a full magazine. Confirm one round per pull. If the reset feels early or the trigger bounces, go up one recoil spring weight.
Troubleshooting
- Trigger does not force-reset: the pistol still fires semi-auto by design. Check the backplate is fully seated, the trigger bar edge is rounded, and the Apex actuator is gone.
- Failures to reset under fire: clean and oil first; then go up one recoil spring weight.
- Light strikes with the 4 lb spring: your ammunition has hard primers; go back to the factory striker spring.
- Doubling: stop, unload, reinstall from step 3.
Remember: with the FRT installed the striker safety plunger no longer functions. Order the Freedom Finger M&P 2.0 forced reset trigger, or email support with your model before you do.